Table of Contents
- Subfloor Preparation: The Foundation of Success
- Acclimating Materials: Preventing Future Issues
- Choosing the Right Underlayment
- Accurate Measurements and Layout Planning
- Moisture Control: A Non-Negotiable Step
- Proper Installation Techniques
- Post-Installation Care and Maintenance
- Conclusion
Installing new flooring is one of the most transformative updates you can make to your home, combining visual impact with increased functionality. A professional-looking result, however, takes more than just good materials. Careful preparation, attention to detail, and proper techniques are essential at every stage. For homeowners seeking expert assistance, local professionals like Artisan Flooring of NC in Raleigh offer the experience and craftsmanship to ensure your project is a success.
From the foundation to the finishing touches, every step of a flooring installation can affect the final appearance and durability of your investment. From preparing subfloors to ongoing maintenance, following proven best practices allows you to avoid common pitfalls and achieve the flawless look you desire.
Subfloor Preparation: The Foundation of Success
Before new flooring can shine, subfloor preparation must take center stage. A clean, level, and dry subfloor is essential for stability and longevity. Even minor debris or high spots can lead to squeaks, uneven surfaces, or premature damage. Remove old adhesives, fill in low areas, and sand down any raised seams. According to This Old House, proper subfloor checks are critical to prevent issues that only become apparent after installation.
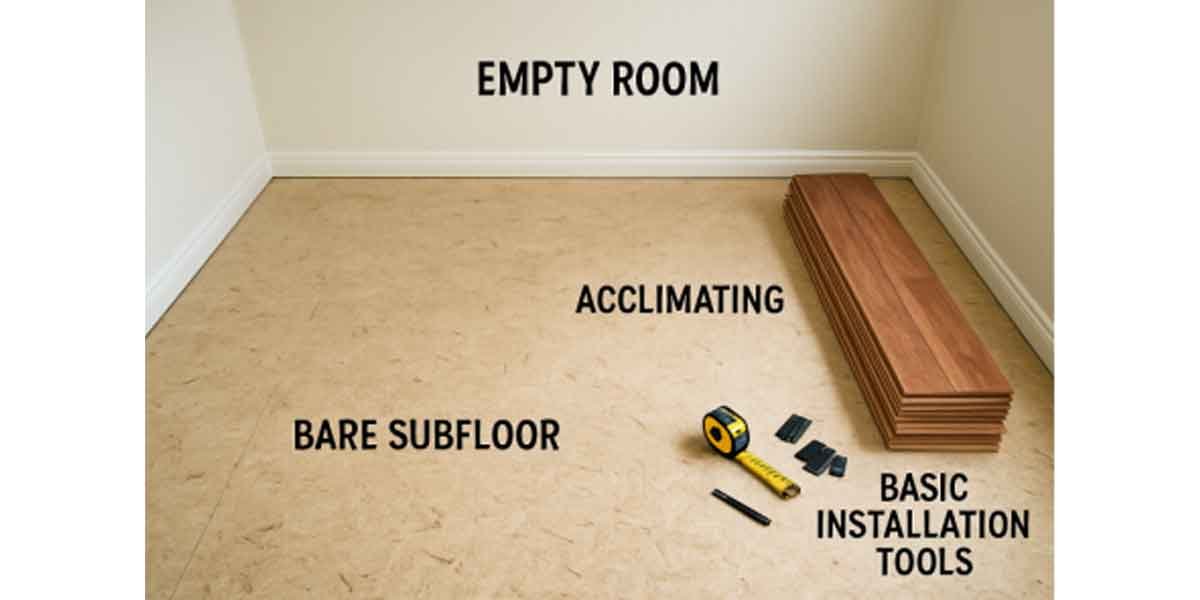
Acclimating Materials: Preventing Future Issues
Many home flooring materials, especially hardwood, engineered wood, and some laminates, are sensitive to temperature and humidity changes. To prevent unsightly gaps or buckling, acclimate your flooring by bringing it into the room where it will be installed and letting it sit uninstalled for a period (usually 48–72 hours for most products, or up to a week for solid hardwood). This step allows the planks to adjust to your home’s climate, significantly reducing the risk of movement after installation. Details on specific acclimation times can be found in the manufacturer’s installation instructions and are also covered in resources such as This Old House.
Choosing the Right Underlayment
Underlayment is often overlooked, but it’s a critical element in the success of flooring. Acting as a cushion, sound barrier, and moisture block, the correct underlayment varies depending on your flooring type and home environment. For instance, moisture barrier underlayment is a must in basements or on concrete slabs, while acoustic underlayment can quiet footfalls between levels in multi-story homes. Skipping or choosing the wrong underlayment can lead to noise complaints, cold floors, or even damaged boards over time.
Accurate Measurements and Layout Planning
Carefully measuring your space and laying out your installation plan will minimize waste and ensure your flooring pattern flows seamlessly through each room. Always measure the length and width of each area at multiple points to account for minor variations, and add 10–15% extra material to cover cutting and mistakes. Include hallways, closets, and odd-shaped areas in your calculations. Planning joint placement and direction (such as running planks parallel to the longest wall) can make rooms appear larger and create a more unified look.
Moisture Control: A Non-Negotiable Step
Moisture is one of the primary hazards for floors, particularly wood and laminate types. Testing both subfloors and flooring with a moisture meter before installation can prevent problems like mold, mildew, and buckling. Be especially vigilant in basements, bathrooms, or other areas that experience humidity fluctuations. Ignoring this step can not only damage your investment but may also void certain manufacturer warranties, as detailed in This Old House.
Proper Installation Techniques
Following Manufacturer Guidelines
Every flooring material requires specific installation methods. From engineered click-lock systems to tongue-and-groove hardwood, following the manufacturer’s recommendations for adhesive, fasteners, and expansion gaps is vital. Expansion gaps, for example, allow the floor to move naturally with changes in temperature and humidity; skipping them can lead to buckling or edge damage.
Using the Right Tools
The correct tools, such as spacers, tapping blocks, power saws, and moisture meters, help achieve a consistent, damage-free result. Working slowly and double-checking alignment as you go prevents costly fixes later.
Post-Installation Care and Maintenance
Caring for your new floors is just as important as the installation itself. Regular sweeping, prompt attention to spills, and the use of gentle, floor-type-safe cleaners maintain surface integrity and shine. Furniture pads prevent scratches; regular checks ensure expansion joints remain free of debris. For wood and engineered products, maintaining a stable indoor humidity level year-round will help prevent seasonal movement.
Conclusion
A flawless flooring installation results from thorough preparation, precise execution, and ongoing care. By understanding each step and seeking help when needed, you can protect your investment and enjoy floors that stay beautiful for years to come.


