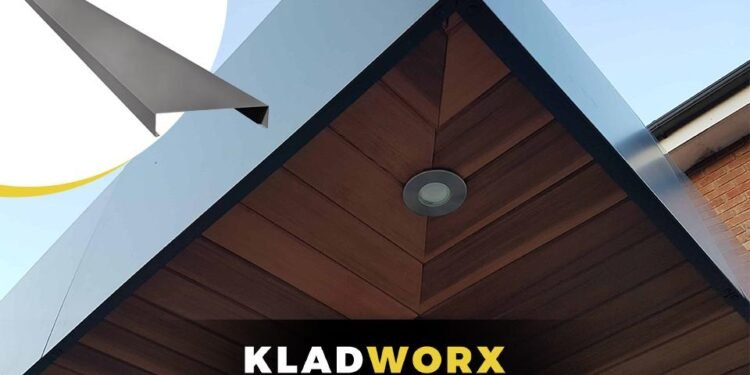
Aluminium copings are the perfect decorative accent for the parapet wall, like the cherry on a cake. They deliver an eye-catching finishing touch with their sleek style. However, these copings offer more than just aesthetic appeal. They provide exceptional protection against the elements, effectively sealing the upper edges of structures to keep them weatherproof and secure.
Lightweight yet durable, these versatile aluminium copings are impressively robust, ensuring that they not only look good but also serve a practical purpose. Made from 100% recycled aluminium, they are an eco-friendly choice. Once installed, they require very little maintenance while providing long-lasting performance.
Installation Guide for Aluminium Copings
When it comes to aluminium copings and cappings, proper installation is crucial for getting their full advantages. These simple components can provide lasting protection and beauty when put in place correctly.
To guarantee flawless results, we will walk through the aluminium coping installation process in detail. Our comprehensive, step-by-step guidance will ensure these accents are secured perfectly to enhance any structure.
Preparation
- Begin by taking precise measurements of the parapet’s length and width that require coping.
- Purchase the appropriate coping sections to completely cover the parapet.
- Ensure the upper surface of the parapet is even, free from dirt, and ready for attaching the coping.
- Utilise a wire brush to eliminate any loose debris or efflorescence from the top of the parapet.
- Check that the wall is plum and make any adjustments needed to ensure the coping will sit level all the way around.
Determine Layout
- Before you begin the installation, carefully plan the entire layout. Ensure that the seams between coping sections align with natural divisions or architectural features in the parapet design. This will result in a neat and uniform appearance.
- When dealing with longer parapet lengths, arrange the layout in a way that staggers the seams from one row to the next for added visual appeal.
- Trim coping sections as necessary to accommodate curved or uniquely shaped areas.
Bracket Installation
- Install a steel sub-bracket onto the plywood grounds covering the parapet wall cavity.
- Secure the sub-bracket using screws, ensuring it is firmly attached.
Attachment Methods
- Place the coping sections onto the sub-bracket, ensuring they are in line with the upper edge of the parapet wall.
- Clipped the copings onto the bracket at the front and fixed through the back.
- To secure the copings, use the screws to firmly attach the copings to the bracket.
Reducing Noise
- The sub-bracket has pre-installed neoprene pads that help dampen noise caused by wind.
- Make sure the neoprene pieces are lined up and firmly attached to the sub-bracket. This ensures they can properly minimise noise.
Preventing Leaks
The copings are not sealed. We use a waterproof membrane laid below the bracket, above the plywood, to block water from getting into the structure.
Upkeep
Periodically check the copings and brackets for damage or loose parts.
Clean the copings regularly to remove dirt and debris, so they still look good.
Last Word
Following the proper techniques for measuring, cutting, and attaching the sections results in aluminium coping that provides both aesthetic appeal and reliable weather protection to parapet walls. The dazzling aluminium coping delivers an architectural touch while finishing off the parapet beautifully. With the right materials and some skill and patience during installation, you can enhance your parapet with aluminium coping designed to last for decades.


