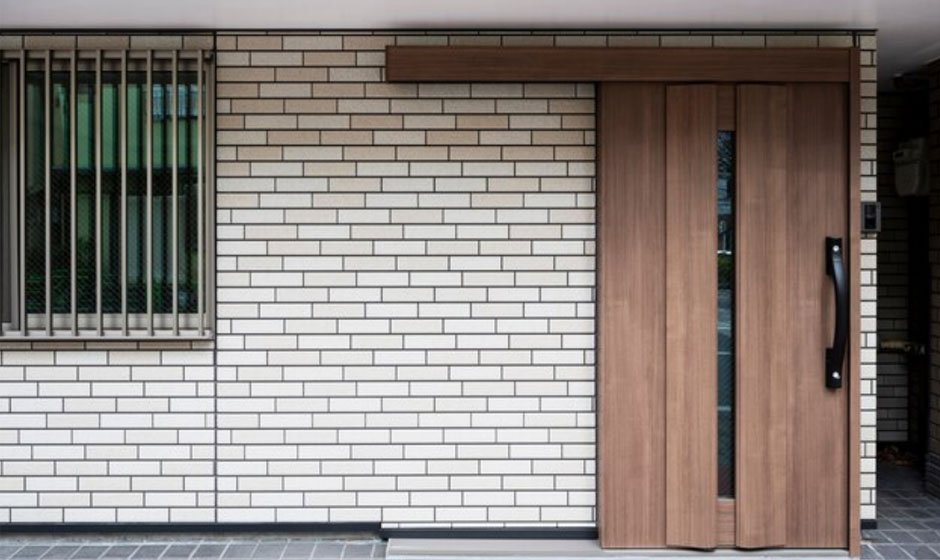
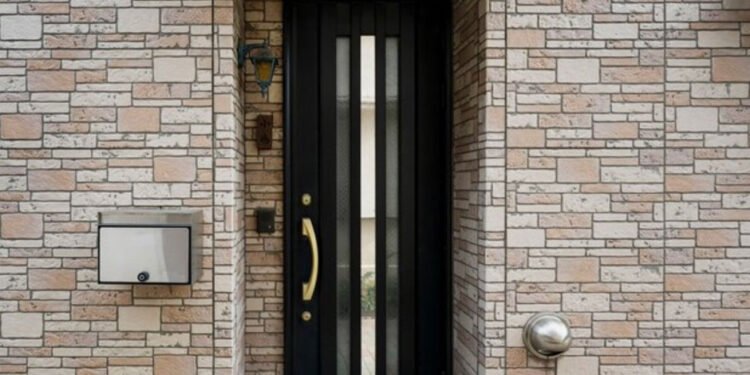
The entryway serves as both a functional passage and a welcoming face for your home. Replacing outdated or worn exterior front doors can significantly enhance curb appeal and improve energy efficiency. While the project may seem daunting, with careful planning and the right approach, it can be accomplished efficiently and effectively.
Preparation is Key
Before embarking on the installation, gather the necessary tools and materials:
- New Pre-hung Exterior Door:Choose a style and material that complements your home’s architecture and meets your insulation needs.
- Basic Tools:Screwdriver, hammer, level, tape measure, utility knife, shims, caulk gun, and caulk.
- Additional Tools (if necessary):Reciprocating saw, pry bar, hammer drill (for masonry installations), and safety glasses.
Step-by-Step Guide

- Remove the Old Door:Begin by unscrewing the hinges from the jamb, starting at the bottom. Carefully lift the old door out of the frame and dispose of it properly.
- Dismantle the Existing Frame:Remove any screws or nails securing the old frame to the wall. If interior trim is present, carefully detach it as well.
- Weatherproof the Opening:Install a drip cap or Z-flashing above the opening, ensuring the top leg slides behind the house wrap or tar paper beneath the siding. This prevents water from seeping in behind the new frame.
- Apply Sealant:Run a bead of high-quality exterior caulk along the exposed framing where the new door’s trim will meet the wall and across the floor where the threshold will sit.
- Position the New Door:Carefully insert the new door unit, top first, ensuring the exterior molding slides beneath the Z-flashing. Press the unit firmly into place, ensuring it sits tightly within the caulk.
- Level the Threshold:Check if the threshold is level using a carpenter’s level. If necessary, use shims beneath the threshold until it is perfectly level.
- Secure the Frame:Start by securing the hinge side of the jamb near the top with a temporary screw. From the inside, ensure the gaps between the door and the frame are even. Shim behind the hinges as needed and secure the frame to the opening with screws behind the weatherstripping.
- Handling Masonry:If fastening into masonry, use a hammer drill with a masonry bit to create pilot holes. Secure the frame with masonry screws.
- Fine-tuning the Fit:Once the hinge side is secure, close the door and assess the gap between the door and the lock-side jamb. Insert shims as needed to achieve a consistent and even gap.
- Final Touches:Apply a neat bead of caulk between the exterior trim and the siding. Once the caulk dries, the door is ready for paint or stain and the installation of hardware.
Additional Considerations
- Take accurate measurements of the existing opening to ensure the new door fits properly.
- Pay close attention to the instructions provided with your specific pre-hung door unit.
- If you are unsure about any part of the process, consult with a qualified professional.
By following these steps and taking your time, you can successfully install a new exterior door, enhancing your home’s aesthetics, security, and energy efficiency.


