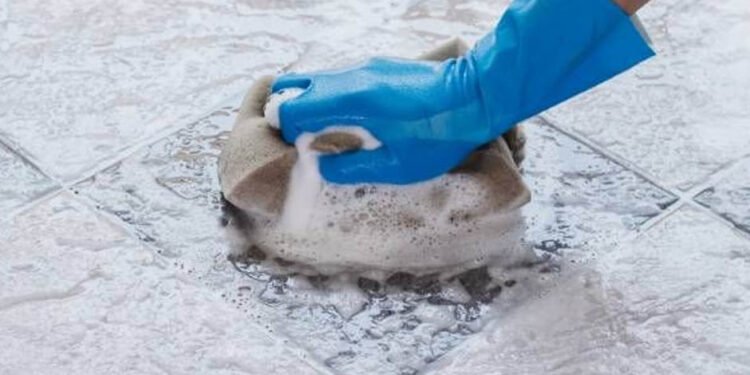
Ever stared at your tiles and thought, “How did these even get this dirty?” Whether it’s bathroom grime, kitchen spills, or those mysterious scuffs on the hallway floor, dirty tiles can turn a sparkling home into something that feels less inviting. But the good news is that restoring your tiles’ original shine doesn’t have to be overwhelming—or expensive. With a little know-how and some clever tricks for tile cleaning Phoenix, those tiles can go from drab to dazzling in no time.
Start with the Basics: A Gentle Sweep and Mop
Let’s kick things off with the simplest step. Dust and dirt settle on tile floors faster than most people realize, and if left too long, they can scratch the surface. That’s why a quick sweep or vacuum is the first line of defense. A soft-bristle broom or a vacuum with a hard floor setting works best. Once the loose debris is gone, follow up with a damp mop using warm water and a mild detergent. It sounds basic, but you’d be surprised how far this step alone can go in making your tiles look fresher.
If you’re dealing with tiles in a kitchen or dining area, a splash of white vinegar in the mop water can work wonders for breaking down grease. The smell might be strong at first, but it fades quickly, leaving your space feeling clean and crisp.
Tackle the Grout: The Real Game-Changer
Let’s be honest—grout can make or break the look of your tiles. When it’s clean, the entire surface gleams; when it’s dingy, even the best tiles seem lackluster. For most grout cleaning tasks, a mix of baking soda and water is the go-to remedy. Make a paste, apply it to the grout lines, and let it sit for about 10–15 minutes. Then, grab an old toothbrush or a grout brush, and scrub gently. The transformation can feel almost magical.
For stubborn stains, try adding a bit of hydrogen peroxide to the baking soda paste. It’s an excellent solution for those who want results without reaching for harsh chemicals. But if the grout is beyond rescue, professional steam cleaning might be the way to go. Sometimes, calling in reinforcements is the smartest move.
Don’t Overlook the Power of Steam
Speaking of steam, it’s a hidden hero in tile cleaning. Steam mops aren’t just trendy—they’re incredibly effective at loosening dirt and grime, especially in high-traffic areas. The heat can also sanitize surfaces, which is a bonus if you’ve got kids or pets running around. Just make sure your tiles and grout are sealed before using steam, as unsealed surfaces could absorb moisture and get damaged.
Steam is also an eco-friendly option since it eliminates the need for chemical cleaners. It’s worth considering if you’re looking for a green cleaning routine.
Kitchens and Bathrooms: Special Considerations
Tiles in kitchens and bathrooms face unique challenges. In kitchens, grease splatters and food spills are the main culprits. A mixture of dish soap and warm water can handle most greasy messes. For an extra boost, sprinkle a bit of baking soda on the area before scrubbing.
Bathroom tiles, on the other hand, often deal with soap scum, water spots, and mildew. A 50/50 mix of white vinegar and water in a spray bottle can cut through soap scum like magic. Spray it on, let it sit for a few minutes, then wipe it away with a microfiber cloth. For mildew, a diluted bleach solution can help, but always ventilate the area well and rinse thoroughly afterward.
Natural Cleaners vs. Commercial Products
It’s no secret that natural cleaners are gaining popularity, and for a good reason. Ingredients like vinegar, baking soda, and lemon juice can handle most tile-cleaning tasks without the harsh chemicals found in commercial products. Plus, they’re budget-friendly and often already sitting in the pantry.
However, commercial cleaners aren’t the enemy. Many products are designed specifically for tile and grout, offering powerful cleaning without damaging the surface. If going the commercial route, choose a cleaner labeled safe for your specific type of tile. For example, natural stone tiles like marble or travertine need pH-neutral cleaners to avoid etching the surface.
Pro Tips for Polished Results
Here’s something that not everyone considers: how you dry your tiles matters. After cleaning, take an extra minute to dry the tiles with a microfiber cloth. This prevents water spots and streaks, especially on glossy tiles. Plus, it’s a small step that adds a noticeable shine.
Another pro tip? Consider sealing your grout every six months to a year. It’s a preventative step that keeps dirt and stains from seeping in, making future cleaning much easier. Tile sealants are readily available and relatively easy to apply, but if it feels daunting, many professional cleaners offer this service.
A Few Final Thoughts on Maintenance
Consistency is key. Regular maintenance—sweeping, mopping, and spot-cleaning spills as they happen—keeps your tiles looking their best. It also extends their lifespan, saving you money on replacements down the line.
If tiles still don’t sparkle despite your best efforts, it could be time to reassess. Sometimes, wear and tear like scratches or faded finishes need professional restoration. And when in doubt, consulting a tile expert ensures you’re not inadvertently causing damage with DIY attempts.
Tiles have a way of tying a space together, whether they’re lining a shower wall or stretching across a kitchen floor. Keeping them clean doesn’t have to be a chore—it can even be satisfying with the right approach. A little effort goes a long way, and with these tips in your back pocket, those tiles will keep turning heads for all the right reasons.


