Scalp micropigmentation is an excellent solution for people looking to reduce the appearance of baldness, thinning hair, alopecia, or other forms of hair loss. It involves creating tiny pigmented dots on the scalp that mimic the look of natural hair follicles, creating the illusion of a head full of healthy hair. Here is a step-by-step process of how this procedure works:
The Scalp Micropigmentation Process
Step 1: Consultation
The initial appointment usually happens before treatment. During your consultation, you’ll meet with a trained specialist to assess your scalp, determine if you’re a suitable candidate, and design the ideal pigmentation pattern and color. They may also take “before” photos, explain the process, and discuss pricing so you know what to expect. If you have any goals, questions, or concerns, don’t leave your consultation without addressing them.
Step 2: Scalp Preparation
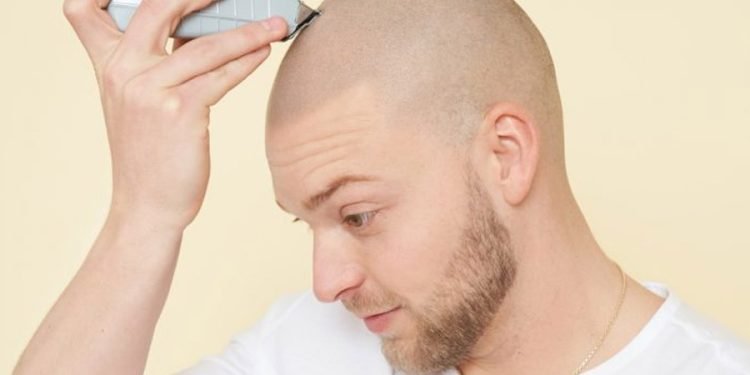
Before the treatment, the scalp micropigmentation expert will shave and clean your scalp thoroughly. The skin will get tiny dots of pigmentation with a needle, so it needs to be as free as possible from dirt, oils, sweat, and other substances that may cause infection. The second scalp preparation task is outlining what your hairline will look like. It should look as realistic as possible, so the specialist will draw an outline that best resembles your natural hairline. If you’re unsatisfied with the suggested hairline, speak up, and don’t be afraid to ask for changes.
The last step in scalp preparation is applying a topical numbing agent. Micropigmentation needles are usually thinner than tattoo needles, making the process relatively less painful. The purpose of the numbing cream is to reduce any discomfort you may feel. The specialist will leave it on for a few minutes and then wipe it off before beginning the procedure.
Step 3: The Scalp Micropigmentation Procedure
In this step, the technician will use a handheld device to place tiny pigmented dots onto your scalp in the previously determined pattern. The process is gradual and deliberate to make the pigmentation look natural. You might feel a slight pricking sensation, but it should be tolerable. If you start to feel uncomfortable, tell your specialist so they can adjust the pressure, give you a break, or apply more numbing cream.
Depending on the size of your balding area and the pigmentation pattern, the procedure may take several hours. You may need several sessions spaced a few weeks apart to achieve the desired results. Additional sessions may be necessary to densify the pigmented areas to achieve a fuller look.
Step 4: Cleaning Up
After the treatment, your specialist will clean up any excess pigment. They may then apply a post-treatment ointment that helps reduce inflammation and protects the micropigmented area. When the area becomes clean, you can evaluate the results and determine if you’re happy with them. This is also the stage where the specialist takes “after” photos for comparison with your pre-treatment pictures. Experienced micropigmentation experts are good at what they do, and you can expect great results.
Step 5: Micropigmentation Aftercare
You may experience slight swelling, redness, or itchiness in the treated area, but these symptoms will disappear after a few days. Your practitioner will provide aftercare instructions. Follow those instructions carefully, as proper care can make a difference in the results. They may recommend avoiding activities that make you sweat, keeping your head away from sun exposure, avoiding some products, and not washing your scalp for a few days. They may also recommend an aftercare healing ointment to speed up recovery.
Step 6: Follow-up Appointment
Your micropigmentation specialist may schedule a follow-up appointment a few weeks after your initial treatment. During this check-up, they will assess the healing process and make any necessary corrections. They want to be certain you are completely satisfied with the results. Your specialist may also recommend an additional session to refine the results further.
Step 7: Enjoying the Results
Once the process is complete and you’ve recovered from the procedure, you can enjoy your restored hairline. You no longer need to worry about constantly covering up your balding area. Scalp micropigmentation is a long-term solution that can give you instant gratification.
Try Scalp Micropigmentation Today
If you’re considering scalp micropigmentation, this is how the process generally works. Research to find a qualified specialist and ask as many questions as you want before committing. The right professional can help restore your hairline and provide you with high-quality results.


